How To Build Your Own Backdrop
July 9, 2014
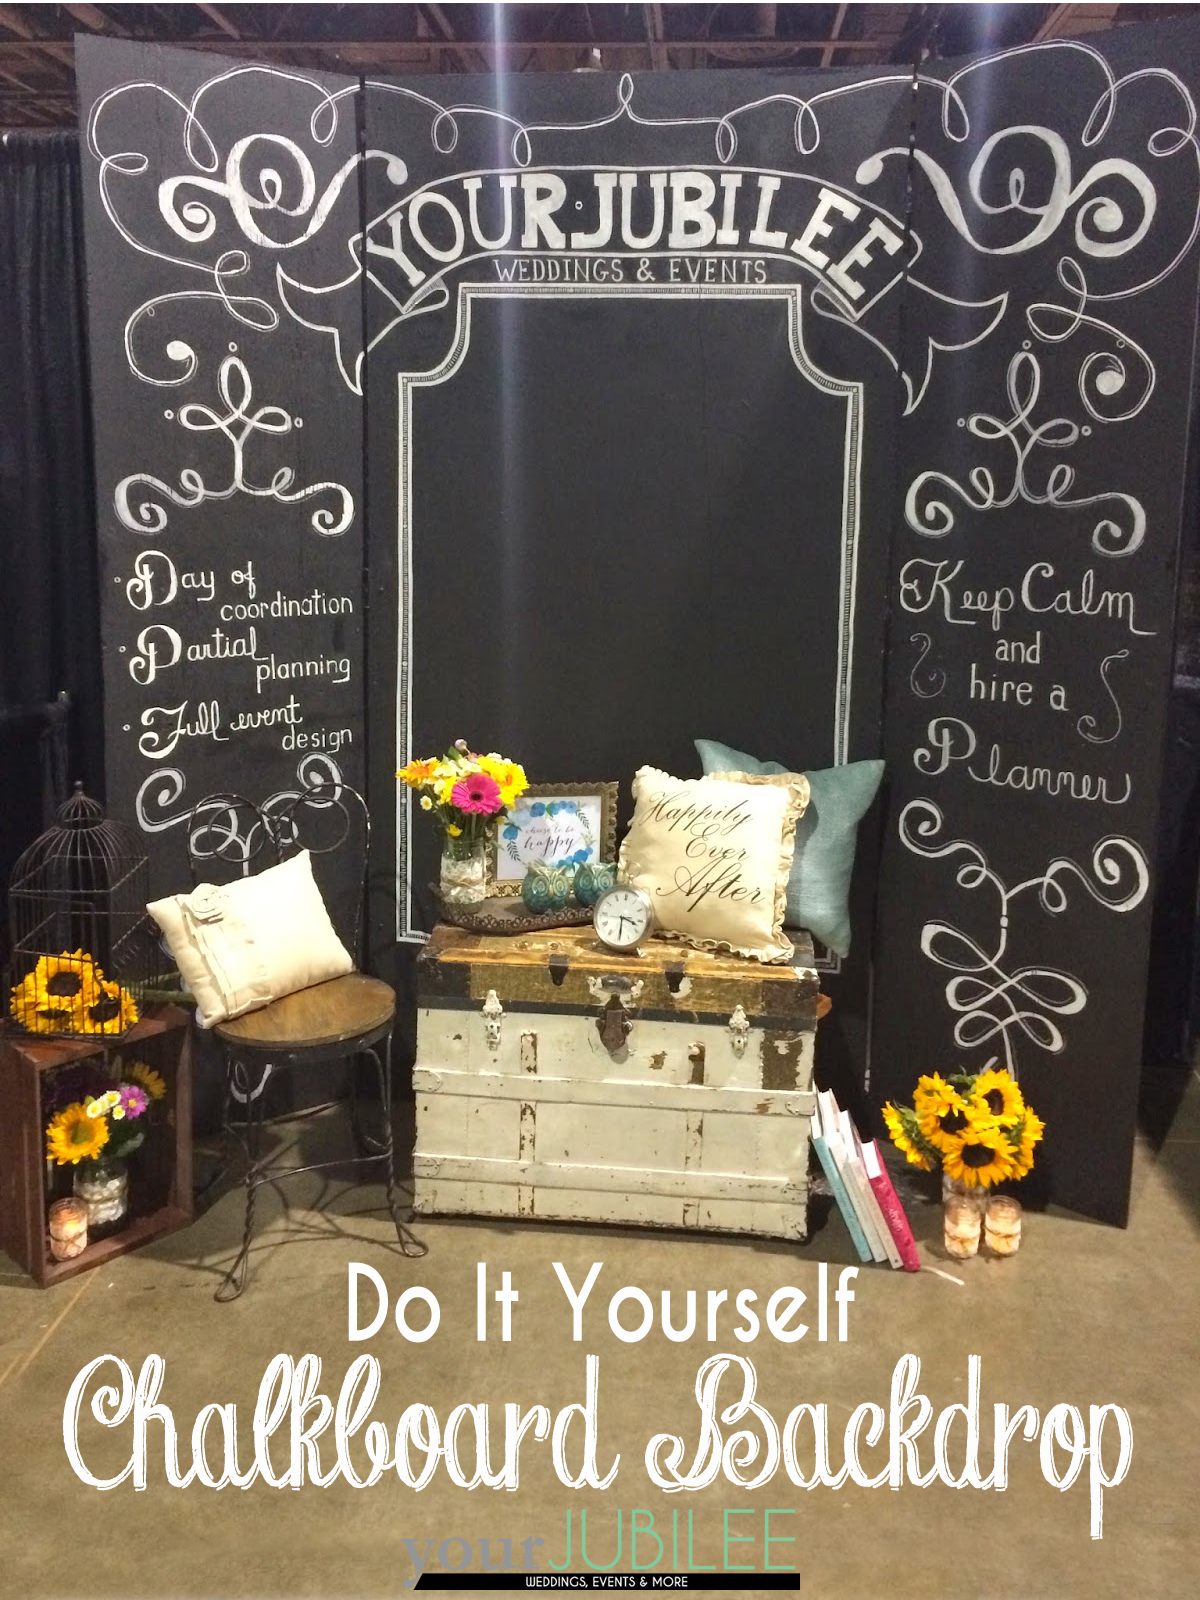
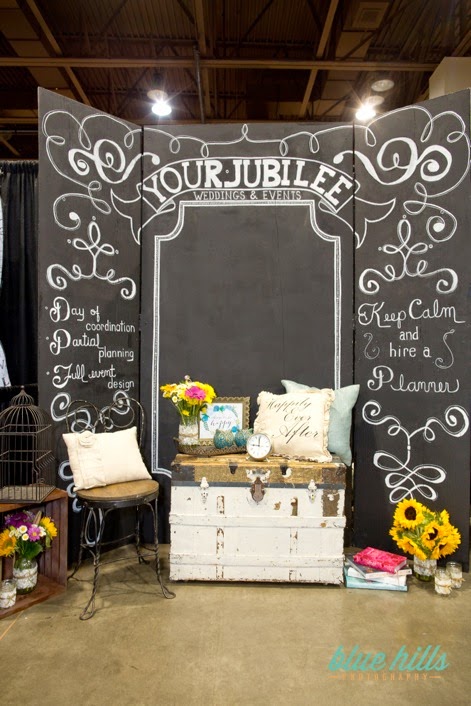
We have recently discovered that we can be pretty crafty here at Your Jubilee. As most of you saw in a previous post, we made a chalk board backdrop for the Your Jubilee booth at the Arizona Bridal Fashion Debut.
This is something we saw on Pinterest on thought, “hey, we can make that!” After a few trips to Home Depot, more then a few mistakes, and some power tools, our fabulous backdrop was created and completely unique to us!
The backdrop was our labor of love and is something we can use for photobooths, party decor, and future expos. We wanted to pass along our very own “Your Jubilee How to Guide” so you can create your own for your next wedding or event.
First, decide how big you want it to be, we decided that we wanted ours to be 8ft x 8ft. Then, head to your local home goods store and buy these supplies:
- 2 boards of 5 ply cat sheathing (our boards were 8ft high and 4ft wide, we had them cut one directly in half to create our side panels.)
- 4 2×2 boards to help reinforce the back (Tip: the straighter these are cut, the better!)
- 1 2ft x 2ft board, cut diagonally to help the structure stand.
- Drill and drill bits
- 6 large, heavy duty hinges
- 4 small hinges
- 6 3inch screws
- Nuts and washer
- Paint brushes, paint pans
- Wood Primer
- Black Chalboard Paint
- Bistro Chalk Pens (Hobby Lobby carries really big ones that we like best!)
Start by drilling the 2×2 board onto the back of the sheathing to help stablize the back drop once it is standing and to have something to attach the hinges to. For best results drill from the front to the back. Drill a hole first and then put the bolt in. This way, you’ll be able to paint over the bolt heads. Once the project is complete no one will even notice they are there. Once the screw is through tighten with a washer and nut.
Then, drill the hinges to the 2×2’s so all 3 boards are attached and the panels can move in and out for easy transportation. We found it easiest to prop the center piece onto a card table then attach the sides.
Be careful when attaching hidges that the side panels are moving in and out how you want them to, this is something we had to re-do few times. The picture above shows us attaching the hinges to the back side of each 2×2 (DON”T DO THIS)- the correct way is to attach it to the inside of each 2×2 as shown in the picture below. This will allow the sides to close completely for easy transportation. (See we told you it took some trial and error.)
The last piece to drill on is the triangle shaped pieces of wood you had cut to use on the back of the board to help stabilize it and keep it from falling. These will also be drilled into the 2×2 boards, on the inside of the center piece of sheathing, using the smaller hinges.
Once it’s dry, its time to add the chalk board paint onto the front and edges of the board. Don’t forget to paint over the screws and make sure to purchase rollers and brushed to get into the various cracks that the wood may have.
Due to the Bridal Expo policies we also had to paint the back black as well. We bought basic black paint for this and made sure the chalk board paint was completely even and dry before turning it over.
To create the design we wanted we had help from a family member who is an amazing painter. You can free hand the design first yourself with pencil and then use chalk pens to complete. You can even hire chalk board artist to complete the design for you. Make sure you have plenty of chalk board pens on hand because they go faster then you think! The great thing about these pens is that you can erase mistakes with water and a towel. We love this, because it allows us to customize our board for each event.
Related
Blog
contact
portfolio
about
experiences
Thank you to our featured video and photography partners: Ryann Lindsey Photography, Melissa Ivy Photography, The Shepards, Rachael Koscica Photography, Aaron Kes, Kayla Fisher Photography, Olivia Markle, Rachel Soloman Photography, Marie Claire Photography, Emily Vandehey, Morgan Mccanne, Andrew Glatt, Chiara Shine Photography, Mike Oblinski, and Good Vibe Media.
follow along with your jubilee
weddings events
for pros
BEST PLANNER
2025 & 2024
BEST OVERALL VENDOR
2024 & 2023
Members of The Knot Hall of Fame and annual winners of the Couples Choice Award. AZ Foothills Best Planner 2025 & 2023
and


